- TypeScript 33.8%
- Ruby 23.5%
- Rust 21.3%
- JavaScript 16.8%
- Shell 2.6%
- Other 1.8%
|
|
||
|---|---|---|
| .github/workflows | ||
| cli | ||
| doc | ||
| screenshots | ||
| service | ||
| web | ||
| .gitignore | ||
| CONTRIBUTING.md | ||
| deploy.sh | ||
| LICENSE | ||
| PACKAGING.md | ||
| README.md | ||
| setup.sh | ||
| VERSION | ||

Service-based experimental installer

The idea of this repository is to build a proof-of-concept of a Linux installer that runs as a service. At first sight, we have identified these components:
- A YaST-based library that performs the system installation. It represents the installer itself and it features an API to query and set installation options (product to install, disk, etc.).
- A D-Bus service that exposes the installer's API.
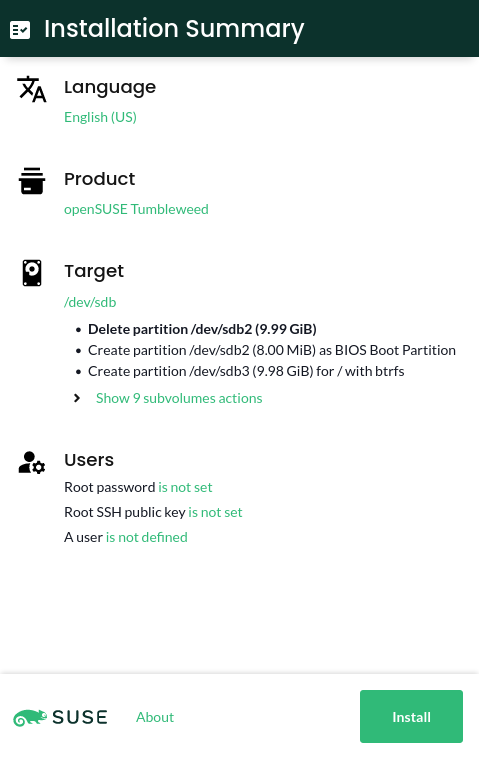
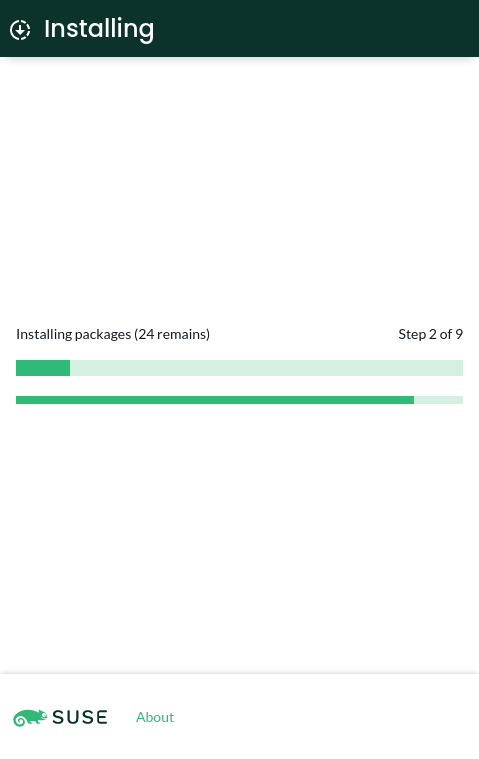
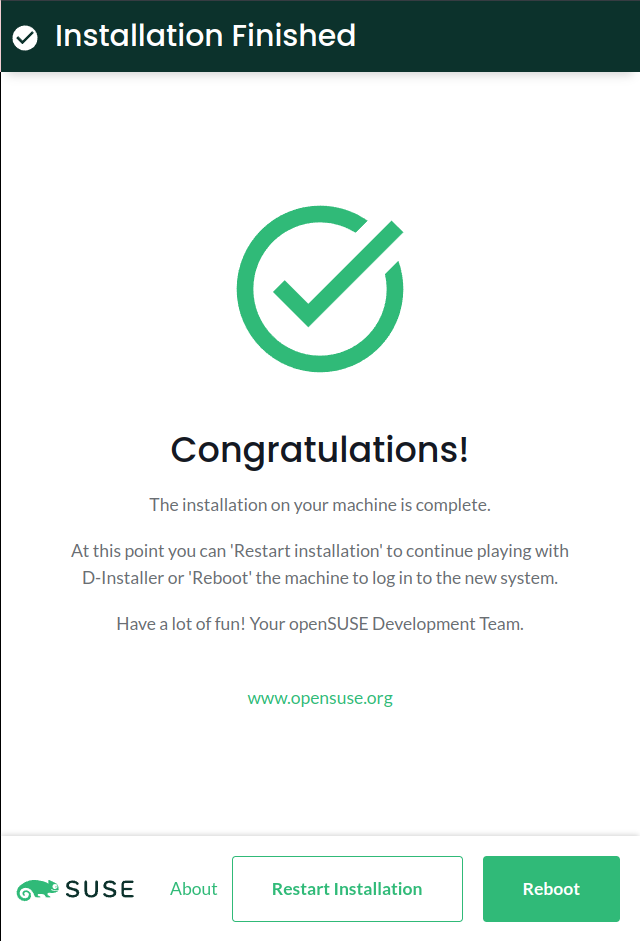
- A user interface. We decided to use Cockpit's infrastructure to
communicate the UI with the D-Bus service.
Quickstart
⚠️ This is a proof-of-concept. Please, use a virtual machine to give it a try. ⚠️
The easiest way to give D-Installer a try is to install the rubygem-d-installer and d-installer-web packages in an openSUSE Tumbleweed Live image.
You need to perform some additional steps, like starting the Cockpit service or setting a password for the "linux" user. However, the repository contains a script that takes care of everything. So after booting the image, just type:
wget https://raw.githubusercontent.com/yast/the-installer/master/deploy.sh
# inspect content to ensure that nothing malicious is done there
sh deploy.sh
This process may take a while. Use linux/linux when the browser opens the log in form.
Setup
If you want to contribute to the project or just have a closer look, you can run D-Installer from sources. The first step should be to install Git (if it is not already installed) and clone the repository:
sudo zypper --non-interactive in git
git clone https://github.com/yast/d-installer
cd d-installer
If you want to save some time, run the setup.sh script and follow the instructions at the end. Alternatively, just go through the following process if you want to do it manually.
Dependencies
To build and run this software, you need a few tools. To install them on openSUSE Tumbleweed just type:
sudo zypper in gcc gcc-c++ make openssl-devel ruby-devel augeas-devel npm cockpit
The user interface uses Cockpit infrastructure to interact with the D-Bus interface, so you
need to make sure that the cockpit service is running:
sudo systemctl start cockpit
Running the d-installer service
d-installer is a YaST-based service that is able to install a system. You can interact with that
service using the D-Bus interface it provides.
Beware that d-installer must run as root (like YaST does) to do hardware probing, partition the
disks, install the software and so on. So you need to tell dbus about the service by copying
service/share/dbus.conf to /usr/share/dbus-1/system.d/org.opensuse.DInstaller.conf.
To run the service, type:
cd service
bundle install
sudo bundle exec bin/d-installer
To check that d-installer is working, you can use a tool like
busctl (or
D-Feet) if you prefer a graphical one:
busctl call org.opensuse.DInstaller /org/opensuse/DInstaller/Language1 \
  org.opensuse.DInstaller.Language1 AvailableLanguages
If you want to get the properties, just type:
busctl call org.opensuse.DInstaller /org/opensuse/DInstaller/Language1 \
  org.freedesktop.DBus.Properties GetAll s org.opensuse.DInstaller.Language1
Starting the web-based user interface
The web-based UI is a Cockpit module. To build the application, just type:
cd web
make devel-install
Point your browser to http://localhost:9090/cockpit/@localhost/d-installer/index.html and happy hacking!